Certified Professionals
Our cleaners are IICRC-certified, ensuring top-notch expertise in inspection, cleaning, and restoration. We’ll restore your property to its best condition, and we can even help with insurance claims.

Windows are harder to clean than they appear. Here are a few, but not all, errors people make when cleaning windows.

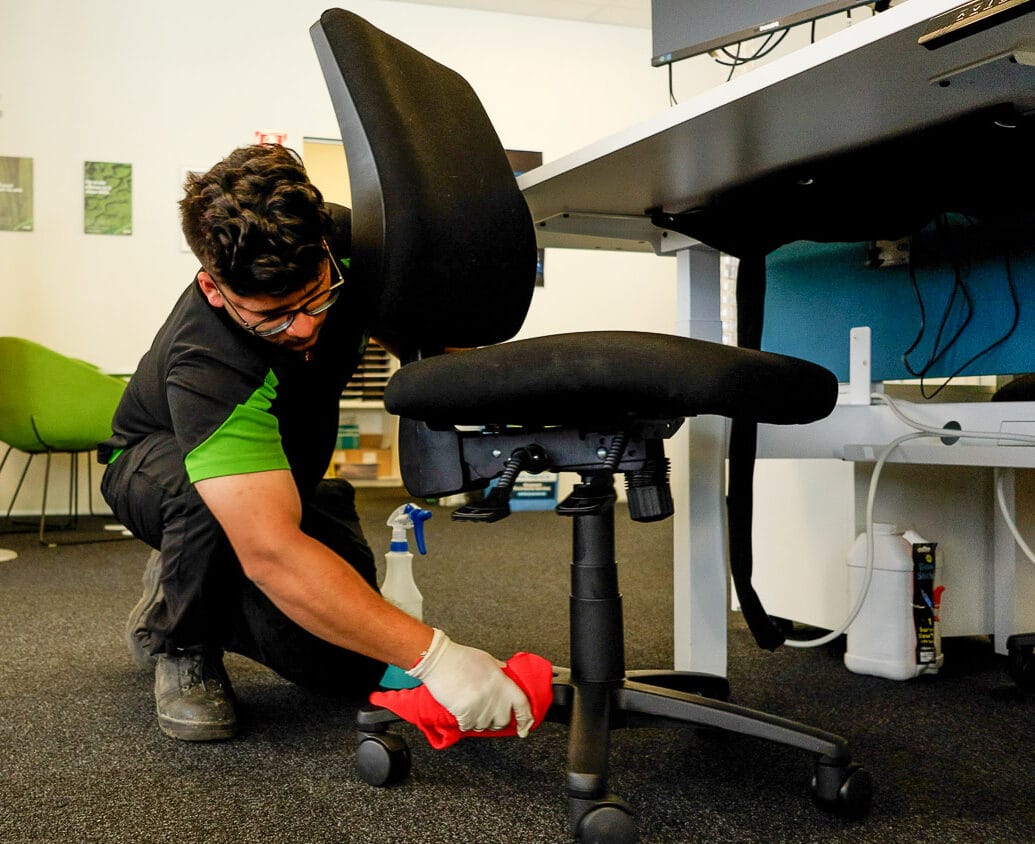
As the weather outside gets colder and the days get shorter, it’s easy to let office cleaning fall by the wayside.

It’s easy to let office cleaning fall by the wayside. But even though no one likes doing it, office cleaning is essential for several reasons.

Regular floor cleaning is critical in maintaining a healthy and sanitary environment. It helps to remove dirt, debris, and bacteria.

The end of the year is a time for reflection and resolutions. It’s also a time for setting goals and planning for the future.

Cleaning can be one of the most daunting tasks we have to tackle in our daily lives. From washing dishes to vacuuming carpets

Window cleaning isn’t merely about achieving sparkling glass surfaces; it’s a proactive measure that directly impacts the longevity and performance of your windows.

A clean and well-maintained floor is an aesthetic necessity and a crucial element that sets the tone for a positive customer experience.
Our focus on customer satisfaction, backed by a 4.9-star rating and over 10+ years of experience, means you can trust us to get the job done right.
Our cleaners are IICRC-certified, ensuring top-notch expertise in inspection, cleaning, and restoration. We’ll restore your property to its best condition, and we can even help with insurance claims.
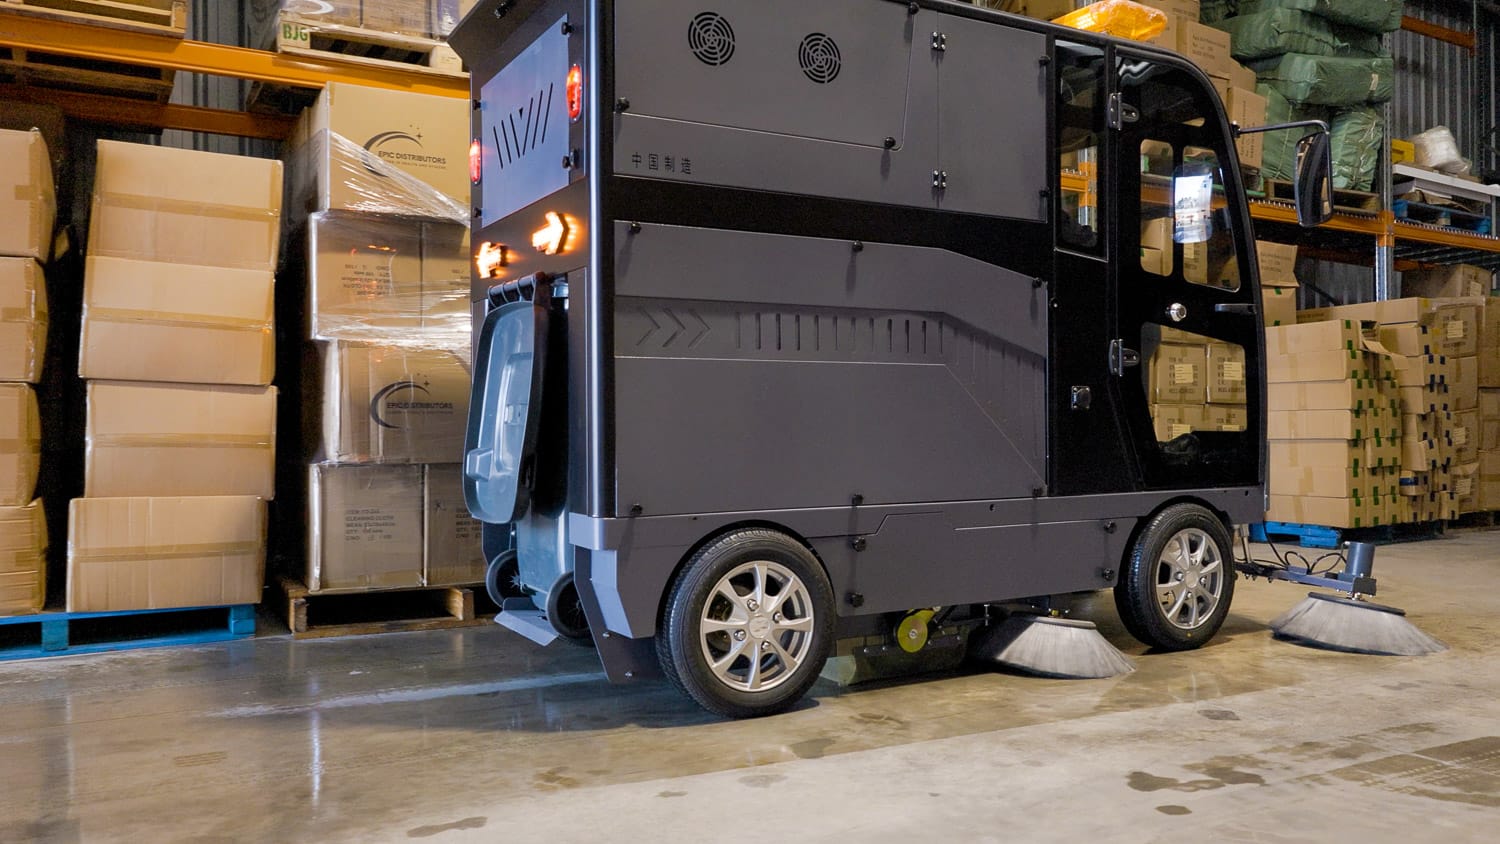
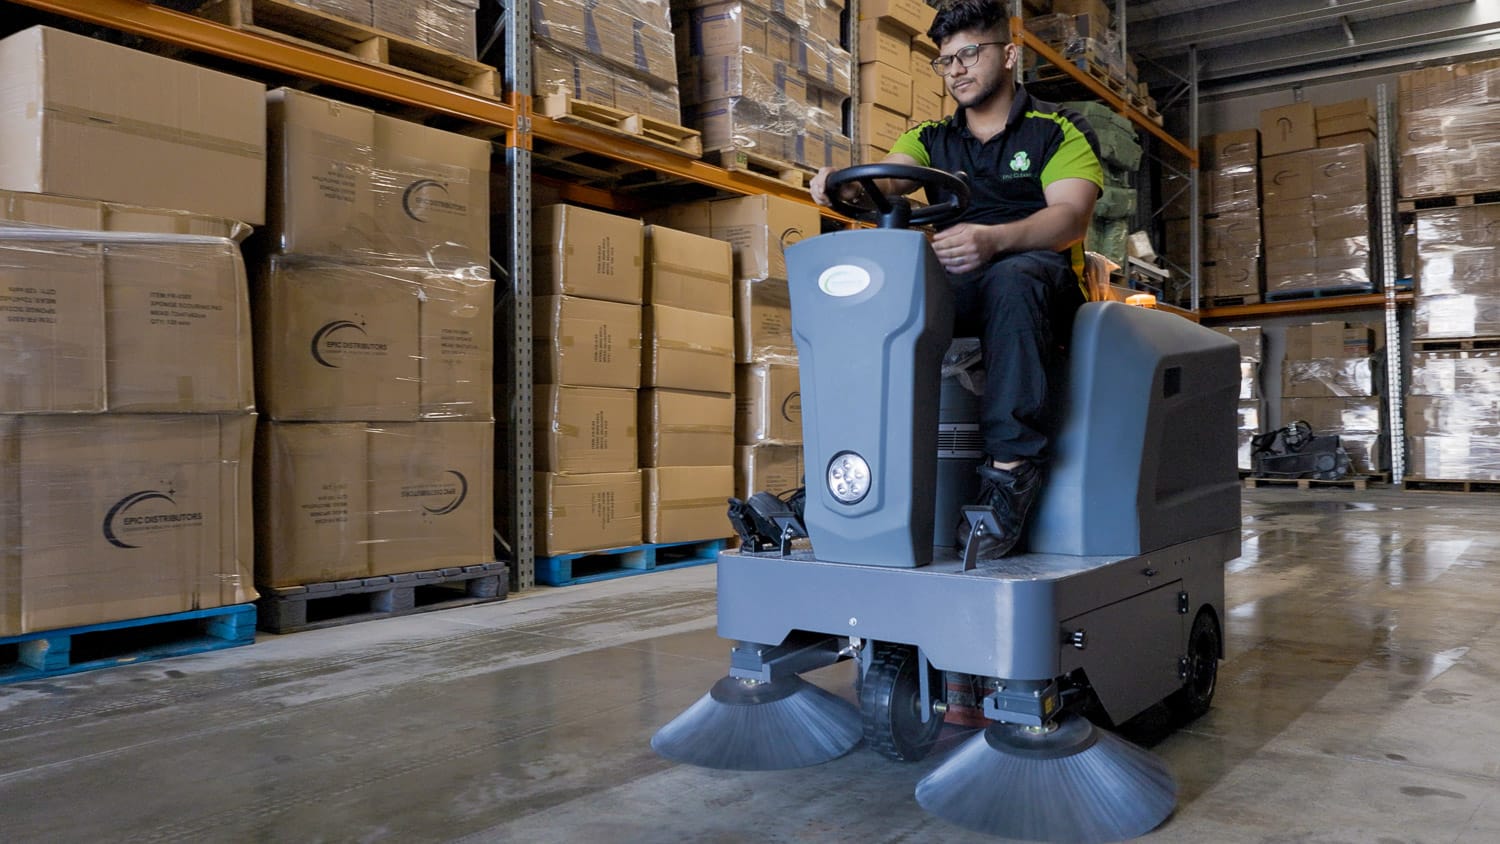
Having the right tools makes all the difference. We take pride in having the perfect tool for every task, from ride-on scrubbers and floor polishers to carpet extractors. When it comes to professional cleaning, we mean business.
With a 4.9-star rating, our customers love our work so much they recommend us to their friends. No matter how tough the job, our Epic magic will leave your space unrecognisable – in the best way possible.
We’re here to take care of your cleaning needs while you relax. If you’re not satisfied, just give us a call, and we’ll redo the job at no extra cost.
We understand that you may have questions about our services. That’s why we’ve created a comprehensive FAQ section to address the most common inquiries.
What types of cleaning services do you offer?
We offer a diverse array of cleaning services, encompassing residential and commercial office cleaning, industrial facility cleaning, and school cleaning in Tauranga. Our services are customized to fulfill the unique requirements of each client.
Are your cleaners trained and insured?
Yes, all our cleaners are highly trained and fully insured. We prioritize safety and professionalism in every job we undertake.
Do you offer eco-friendly cleaning options?
Absolutely. We offer eco-friendly cleaning solutions that are effective while being environmentally responsible. Just let us know your preference when booking our services.
How do you ensure the quality of your cleaning services?
We have strict quality control measures in place, including regular inspections and feedback collection. Our goal is to guarantee complete customer satisfaction with every service.
How can I book a cleaning service with Epic Cleaning?
Booking with us is easy. You can contact us directly via our website or give us a call. We’ll discuss your needs and schedule a convenient time for our team to visit.
Whether it’s your home or business, Epic Cleaning is here to deliver exceptional results every time. Contact us today for a free quote and let our expert team take care of all your cleaning needs.